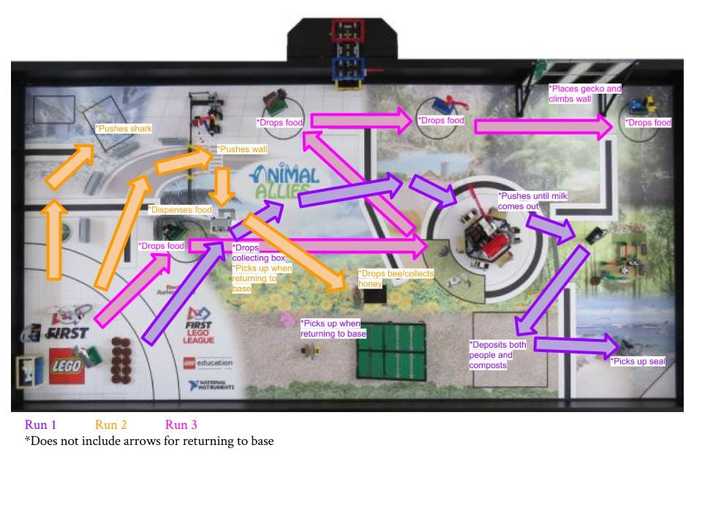
Strategy
The arrows show our individual runs.
Our Design Process
|
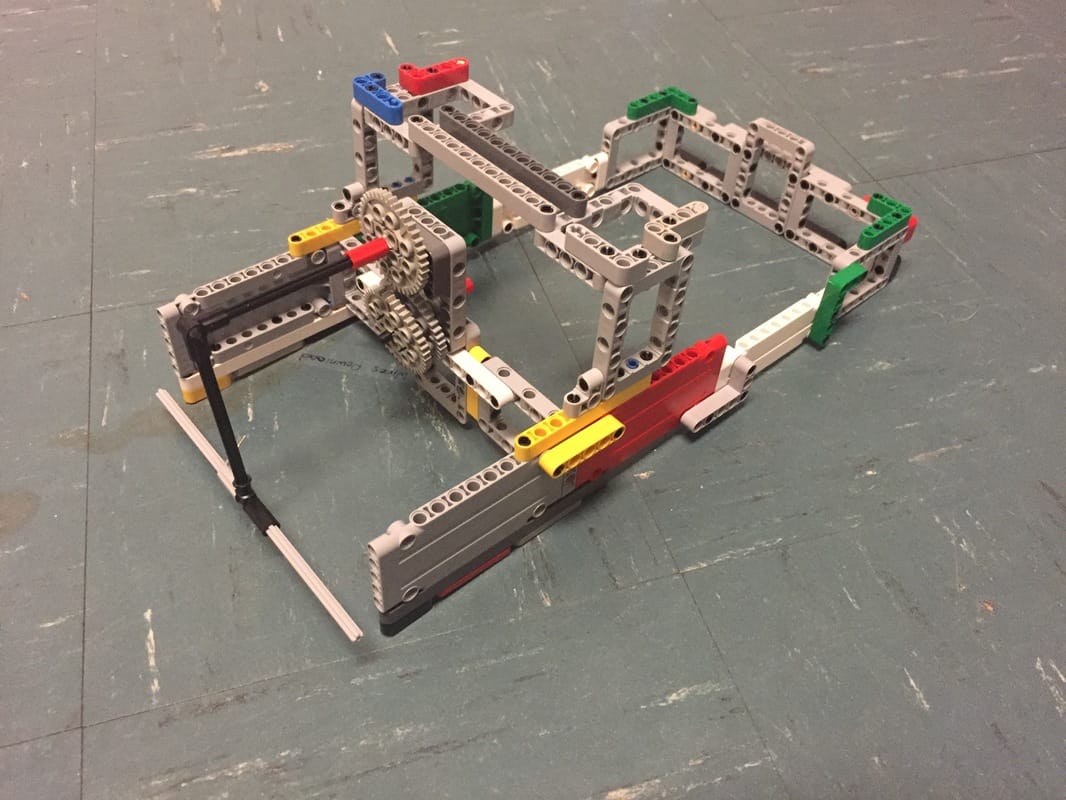
The robot we started the year with:
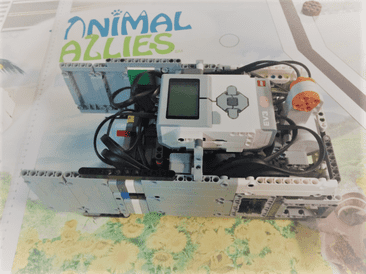
|
The robot we developed to better fit our needs:
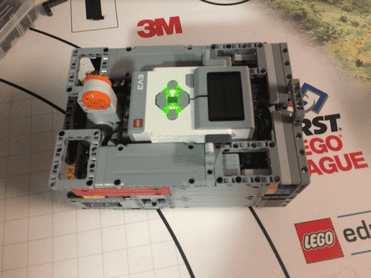
|
We started with a basic robot, which we then changed to the robot on the left. After this, we began programming. We realized there were problems with the design. The wheel guard was weak, and the walls in front caused inaccuracy. The wiring was messy, interfering with the wheels. The new esign rectifies those issures. The wiring is neatly tucked under plates and over beams. For missions requiring walls, we created an attachment (see below). We reinforced the guard as well, and are now using this robot - called AwesomerBot - to program.
Attachments
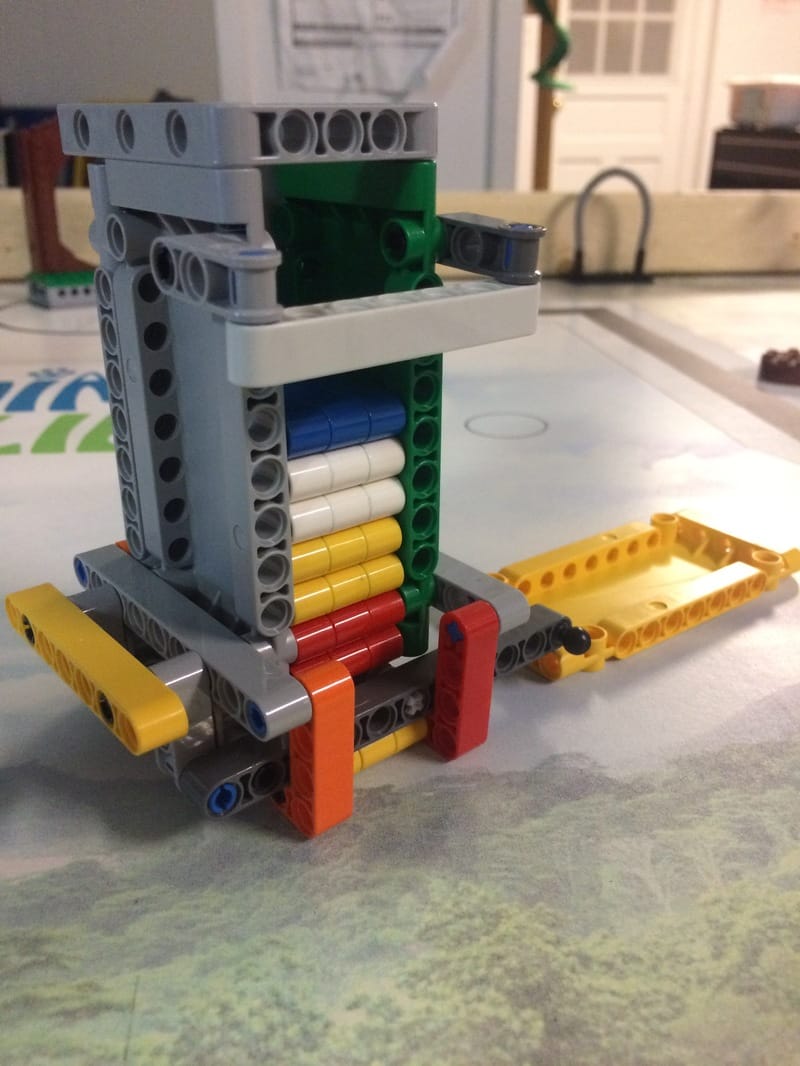
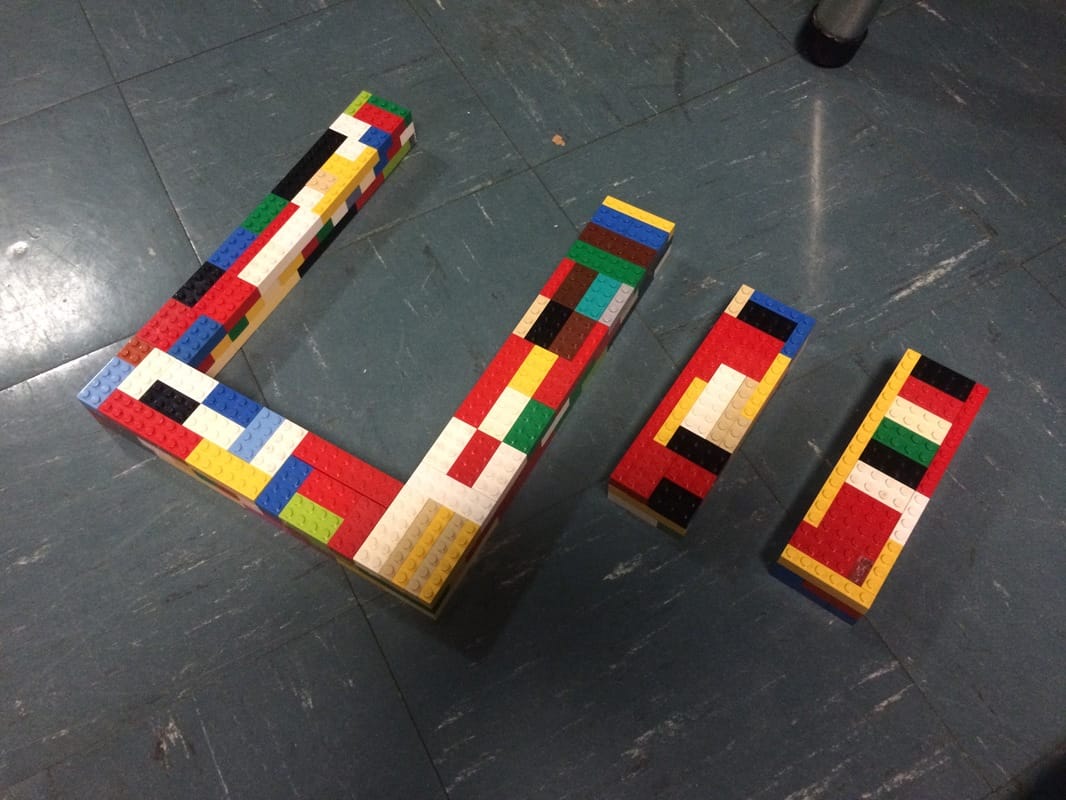
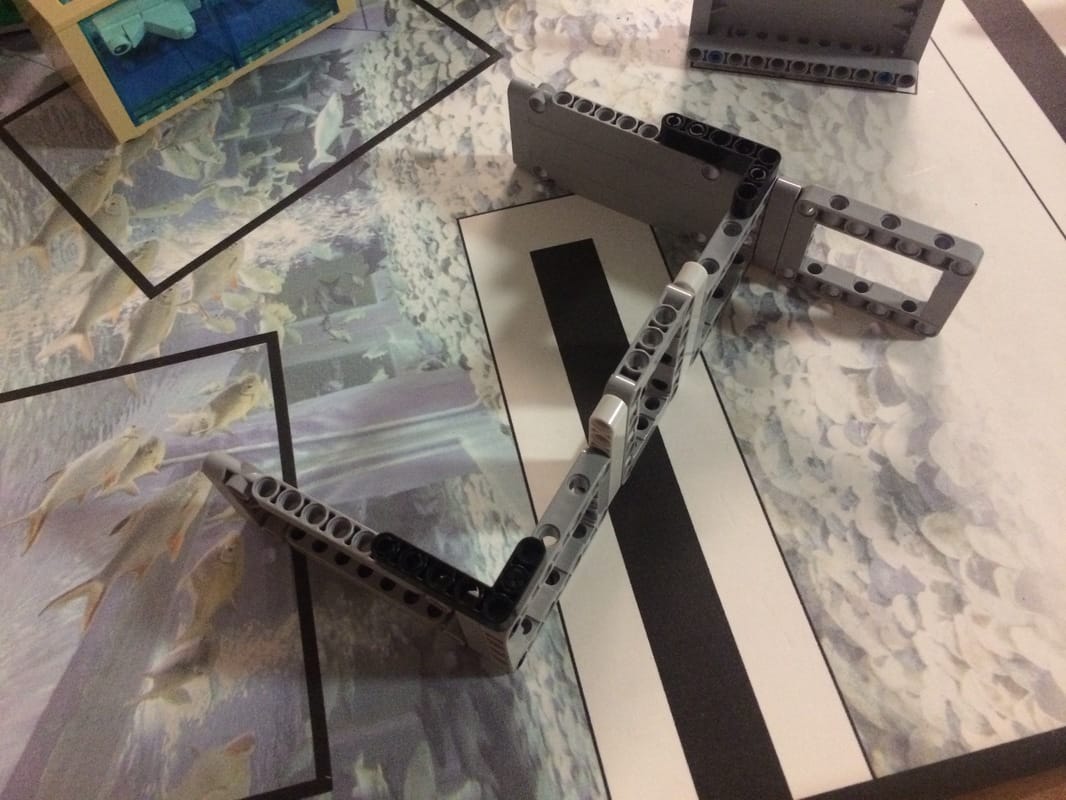

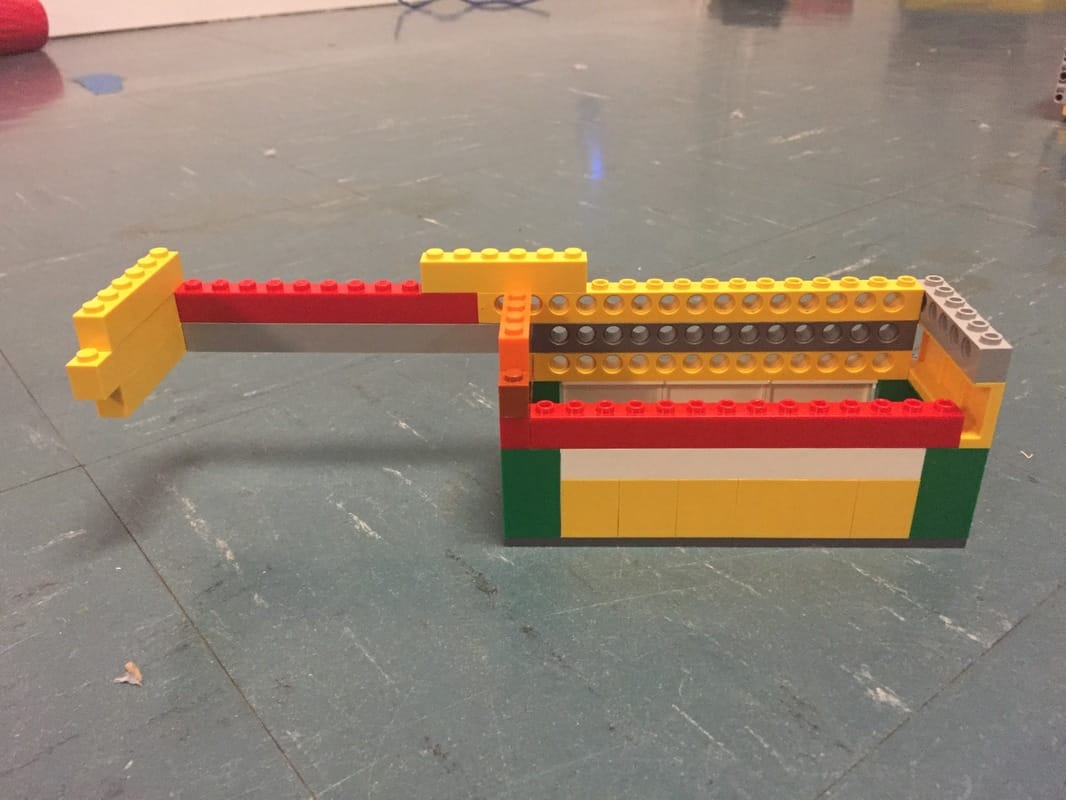
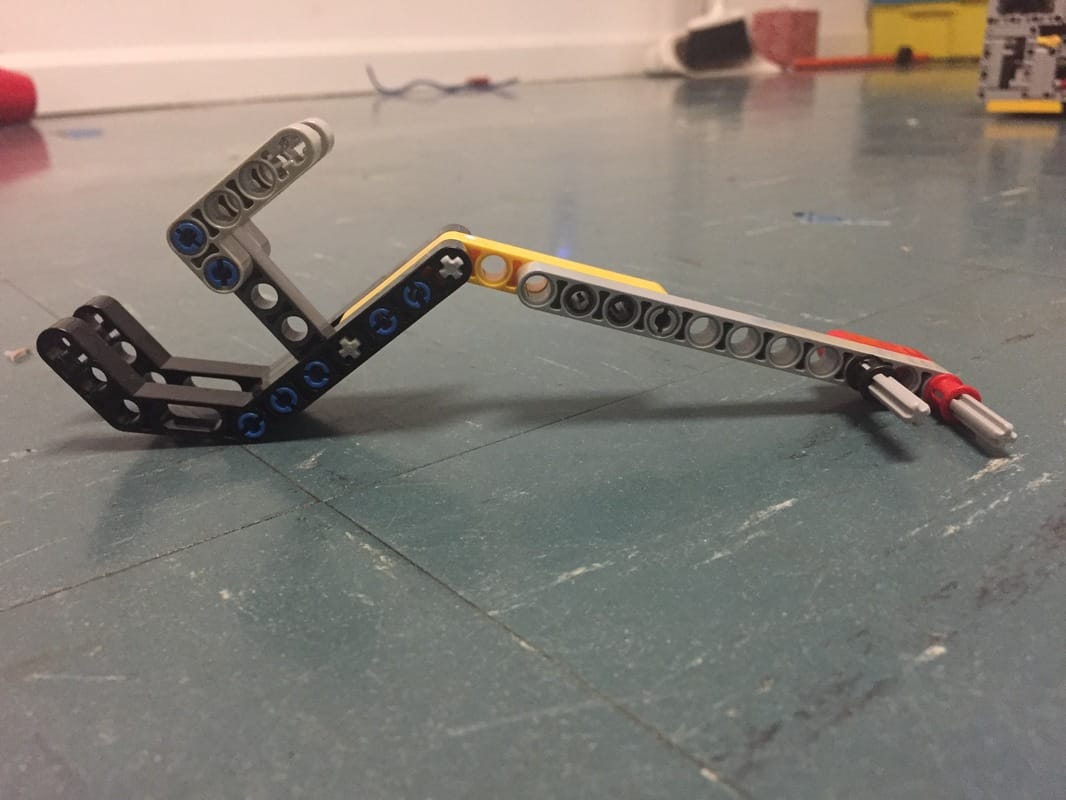
Wave your mouse over the pictures to see captions.
See below a brief video of how the first attachment works.
See below a brief video of how the first attachment works.
